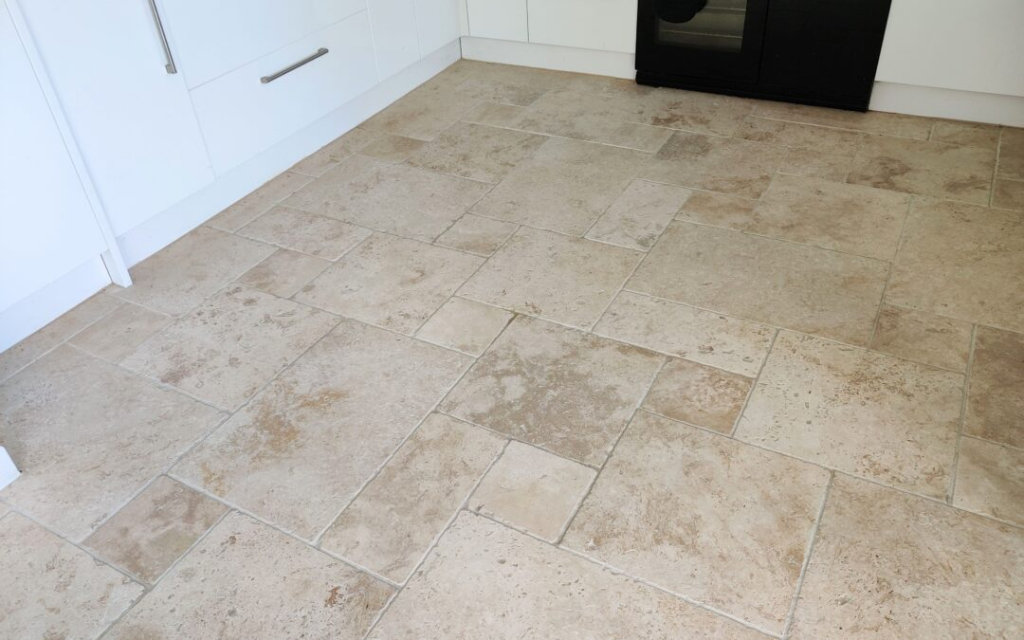
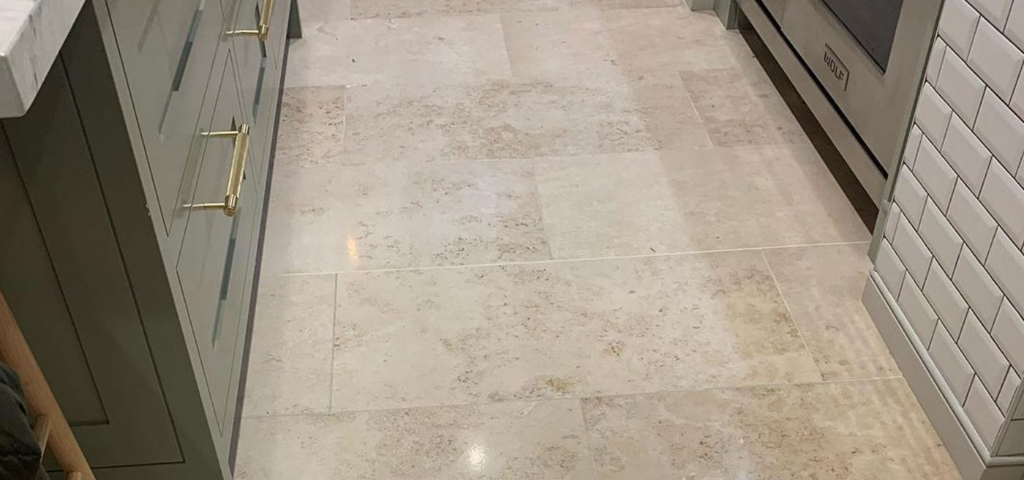
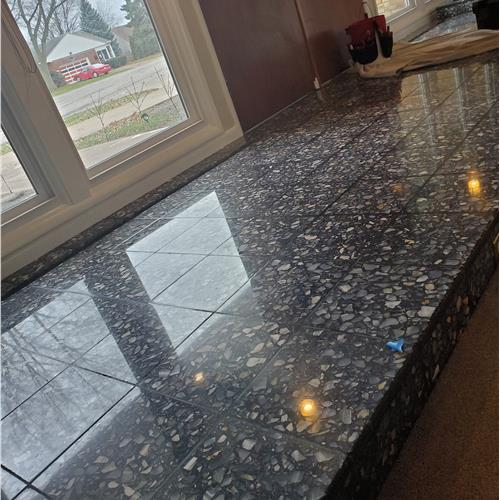
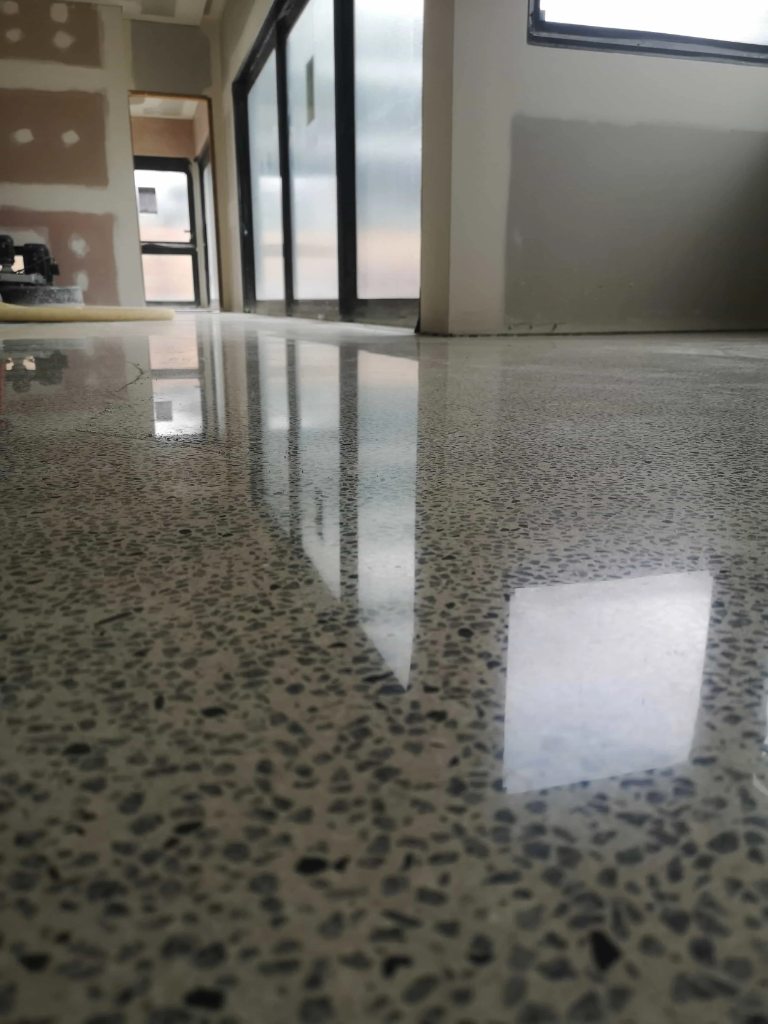
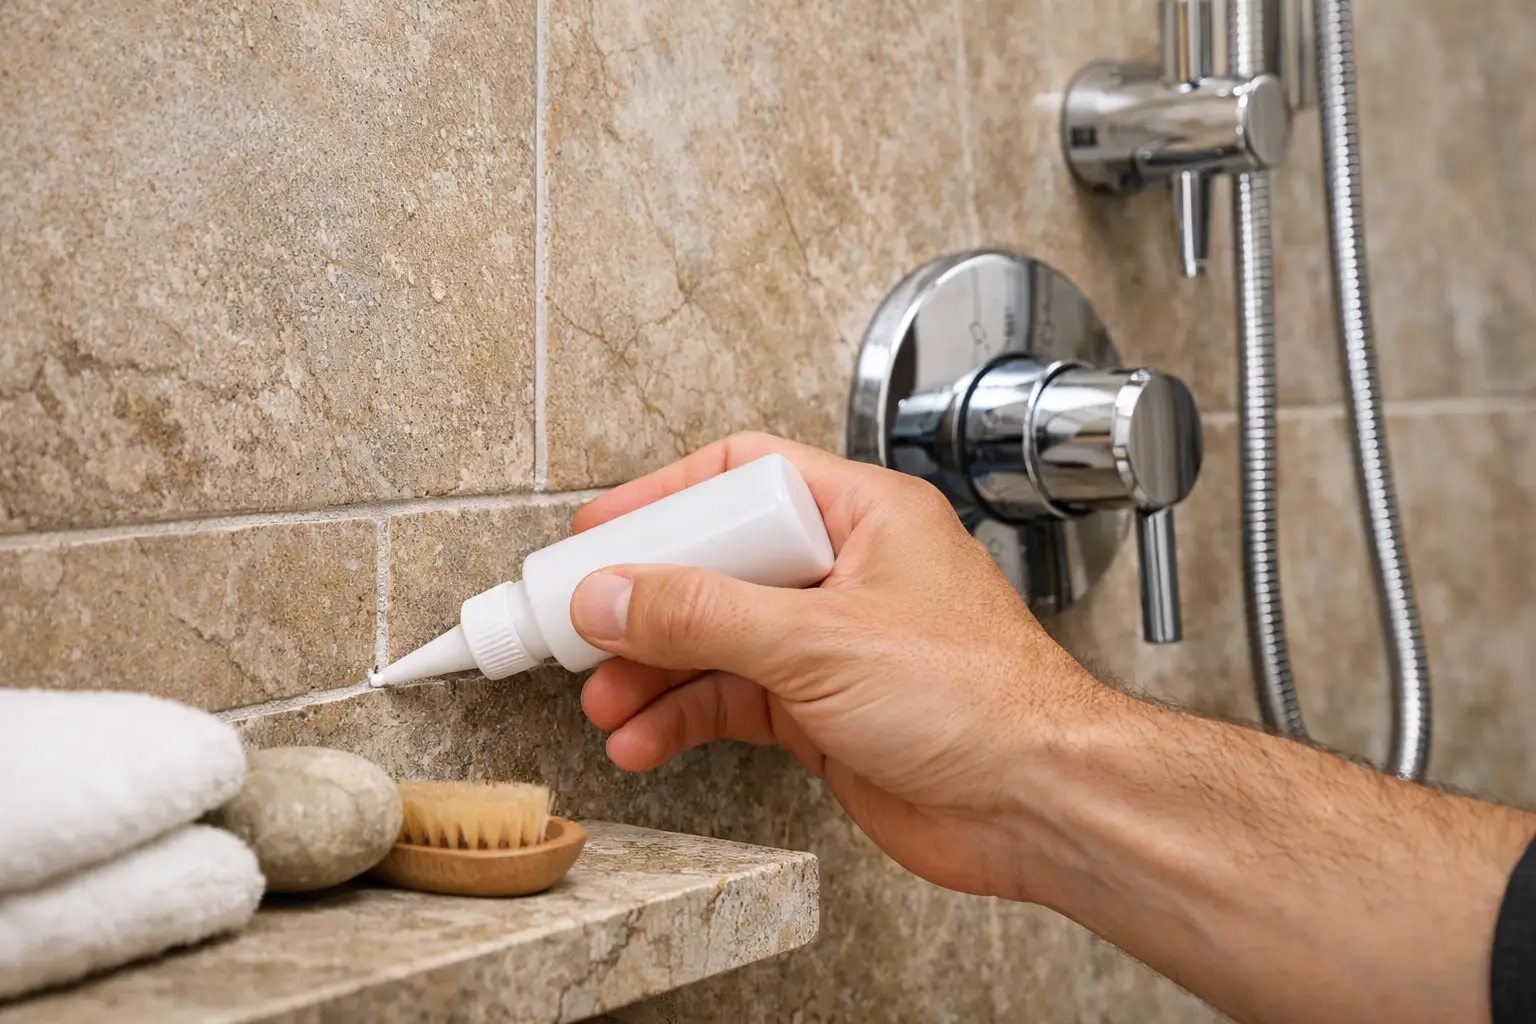
A stone shower can look beautifully finished for years, then suddenly begin showing darker patches, soap build-up or stubborn water marks. This is often a sign that the protective sealer has worn down. Knowing how to reseal natural stone showers properly helps protect the surface from moisture and staining without changing the character of the stone.
Resealing is not simply a matter of applying a product over the tiles. Natural stone is porous to varying degrees, and the result depends on the stone type, its current condition, the cleaner used beforehand and the sealer selected. Good preparation is what separates a lasting result from a patchy finish that traps residue beneath the surface.
Why natural stone shower sealing matters
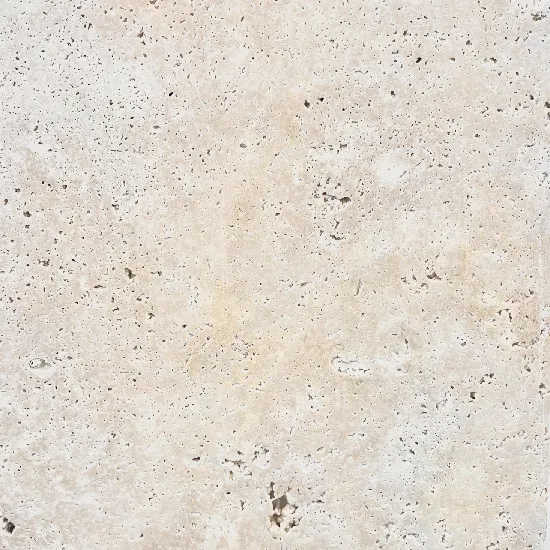
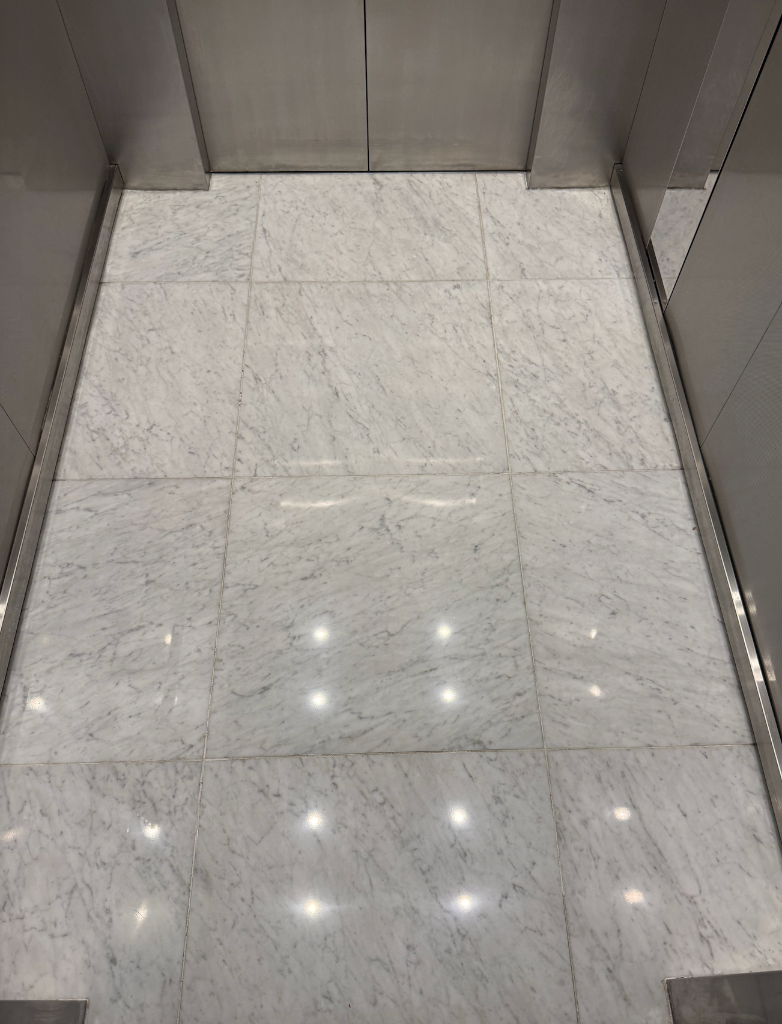
Marble, travertine, limestone, slate and sandstone can all absorb water, body oils, soap residue and minerals carried in shower water. In a wet area, that exposure is constant. A quality penetrating sealer reduces absorption below the surface, giving you more time to remove contaminants before they leave a mark.
A sealer does not make stone waterproof, nor does it prevent etching on acid-sensitive materials such as marble, travertine and limestone. It is a protective treatment, not a cure for poor drainage, failed grout, cracked tiles or loose silicone. Where moisture is entering behind the stone, the underlying issue should be addressed before resealing.
In Sydney bathrooms, hard-water residue and humidity can also make neglected stone appear dull or uneven. Resealing after appropriate cleaning supports easier maintenance and helps preserve the natural colour and finish of the material.
When to reseal a natural stone shower
There is no fixed resealing timetable that suits every shower. A lightly used ensuite with well-maintained stone may hold protection for several years, while a busy family bathroom may need attention sooner. The stone itself matters too. Dense granite generally absorbs less than honed travertine or limestone.
A simple water test can indicate whether the surface is still resisting moisture. Place a few drops of clean water on a dry, inconspicuous section of stone. If the water beads and remains on the surface for several minutes, the existing sealer may still be performing. If it darkens the stone quickly or absorbs within a minute or two, resealing may be due.
This test is a guide only. Darkening can also be affected by the stone's natural porosity, existing residues and surface finish. If the shower has visible staining, whitening, mould growth around joints or a persistent dull film, cleaning and condition assessment should come before any sealing work.
Identify the stone and its finish first
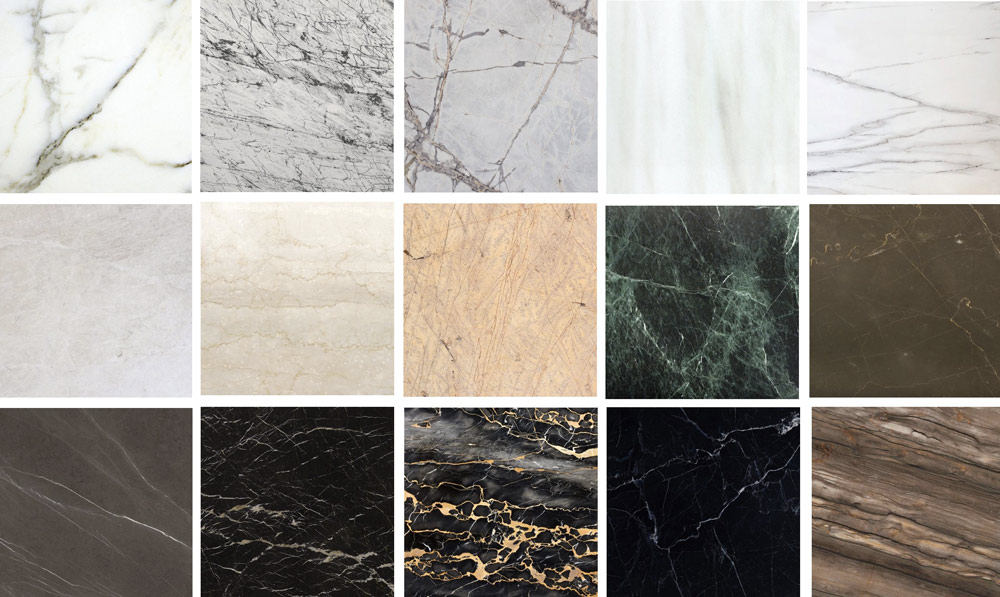
Before choosing a sealer, confirm what has been installed. Polished marble, honed marble, travertine, limestone, slate and granite do not all react the same way to cleaners or treatments. Using an acidic bathroom cleaner on calcium-based stone, for example, can permanently etch the finish.
Most shower stone benefits from a breathable, impregnating sealer formulated for natural stone in wet areas. This type of product penetrates the pores rather than leaving a thick surface coating. It is generally the preferred option for maintaining the natural look and allowing moisture vapour to move through the stone.
Avoid topical sealers unless they are specifically recommended for the stone and shower application. A film-forming product can peel, haze or become slippery under wet conditions. Enhancing sealers also require care: they can deepen colour and enrich the appearance of some stones, but the change may be permanent. Always test a small hidden area and allow it to cure before treating the full shower.
How to reseal natural stone showers step by step
Resealing should only begin when the stone is clean, dry and free from surface residues. Applying sealer over soap scum, mineral deposits or moisture can lock those issues in and leave an uneven appearance.
Clean without damaging the stone
Use a pH-neutral stone cleaner suitable for the particular material. Do not use vinegar, lemon-based products, bleach, harsh bathroom sprays or abrasive powders on marble, travertine or limestone. These can etch, discolour or weaken the surface.
For heavier soap build-up, use a stone-safe alkaline cleaner as directed, then rinse thoroughly. Pay close attention to corners, niches, ledges and the lower wall sections where products tend to accumulate. If mould is present in silicone or grout, deal with that separately. Sealer will not repair deteriorated joints or remove mould embedded behind failed silicone.
Allow the shower to dry completely after cleaning. This can take 24 to 72 hours depending on ventilation, stone porosity and recent use. The shower should not be used while it is drying. Moisture held in the stone can prevent effective penetration and may create blotchy results.
Prepare the area and sealer
Read the sealer label carefully, including coverage rates, dwell time and curing instructions. Ventilate the bathroom well and protect adjoining painted surfaces, tapware and fixtures from accidental contact. Wear gloves and use clean, lint-free white cloths or a suitable applicator pad.
Have the following ready before you start:
- A compatible penetrating natural stone sealer
- pH-neutral stone cleaner and clean water
- Lint-free white cloths or microfibre towels
- An applicator pad, brush or small roller for edges
- Gloves and adequate bathroom ventilation
Do not use coloured rags that may transfer dye to pale or porous stone. Work in manageable sections, particularly on textured slate, travertine with open voids or mosaic shower floors.
Apply a thin, even coat
Apply the sealer generously enough to wet the stone evenly, but do not flood the surface. Spread it across the tile face, edges and grout lines where appropriate. Keep the treated area wet for the dwell time specified by the manufacturer, usually several minutes, adding a little more product if dry spots appear.
The key step is removing all excess sealer before it dries on the surface. Buff thoroughly with a clean, dry cloth within the stated time. Residue left on polished or honed stone can cure into streaks, haze or glossy patches that are difficult to remove.
Very porous stone may require a second coat. If so, apply it while the first coat is still within the manufacturer's recommended recoat window. More product is not automatically better. Once the pores have accepted sufficient sealer, additional coats can simply sit on top and create residue.
Allow adequate curing time
After sealing, keep the shower dry for the full cure period specified on the product label. This is often 24 hours, although some products need longer before exposure to regular water and cleaning. Do not rush this stage. Early shower use can compromise the protective treatment before it has bonded within the stone.
Once cured, inspect the finish in natural and artificial light. The surface should look even, with no sticky patches, haze or obvious colour variation. If any residue is visible, it should be addressed promptly using a method suitable for that sealer and stone type.
Common resealing mistakes to avoid
The most common mistake is sealing an unclean or damp shower. The second is using a generic tile sealer without confirming it is suitable for natural stone and wet areas. Both can lead to poor penetration and an inconsistent result.
Another issue is treating sealing as a replacement for maintenance. Use a pH-neutral cleaner for routine care, remove shampoo and soap residues regularly, and dry the shower walls where practical. Good ventilation also reduces prolonged moisture exposure and helps keep stone and grout in better condition.
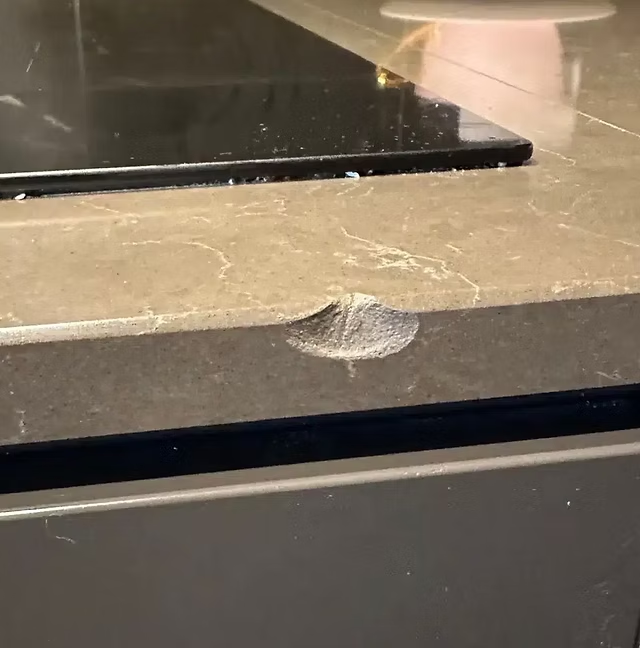
Do not assume every mark needs more sealer. Dull areas on marble or limestone may be etched rather than stained. Dark patches can indicate absorbed moisture, failed waterproofing or contaminants below the surface. These conditions need professional assessment and, in some cases, stone restoration before protective sealing can be effective.
When specialist stone care is the better option
Professional attention is worthwhile when the shower has stubborn staining, etching, surface haze, inconsistent colour, damaged grout, loose tiles or signs of moisture behind the stone. These issues can make a straightforward reseal unsuitable or ineffective.
Sydney Stone Care assesses the stone type, finish and existing condition before recommending cleaning, restoration or sealing. This material-specific approach is particularly valuable for premium stone bathrooms, commercial amenities and older installations where the history of previous products is unknown.
A properly resealed stone shower should still look like stone - natural, refined and easy to maintain. When in doubt, protect the finish first by testing a discreet area or seeking specialist advice before applying any product across the entire shower.