
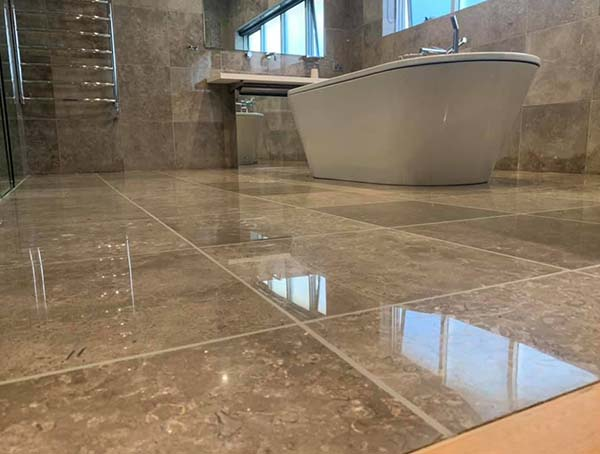
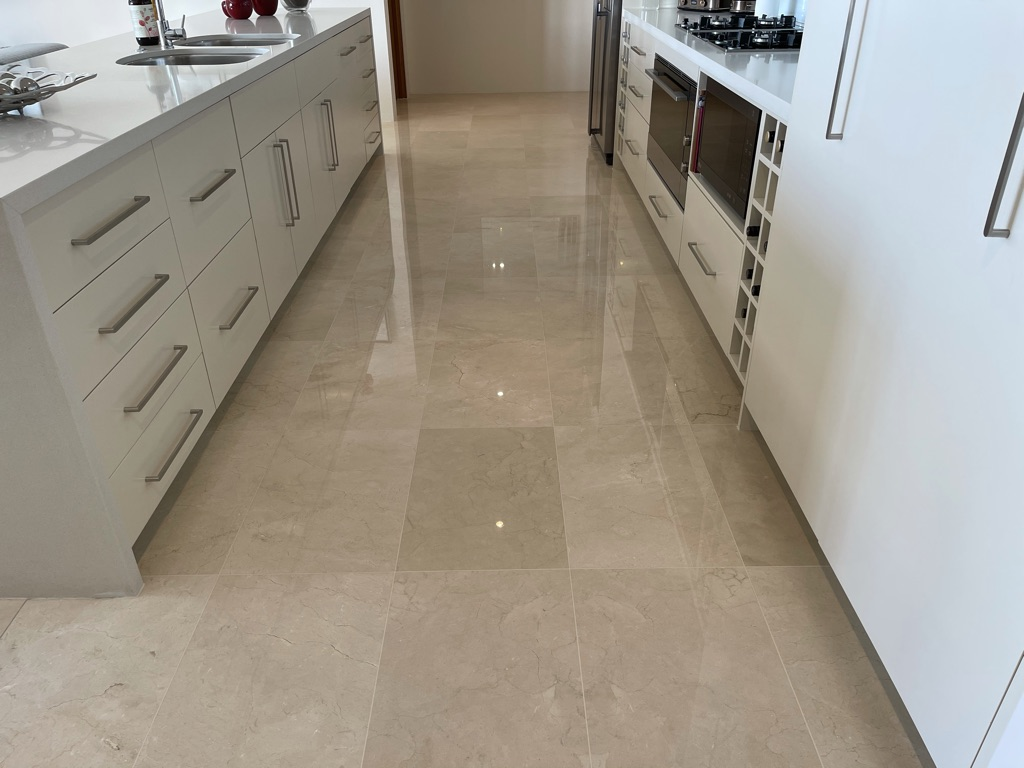
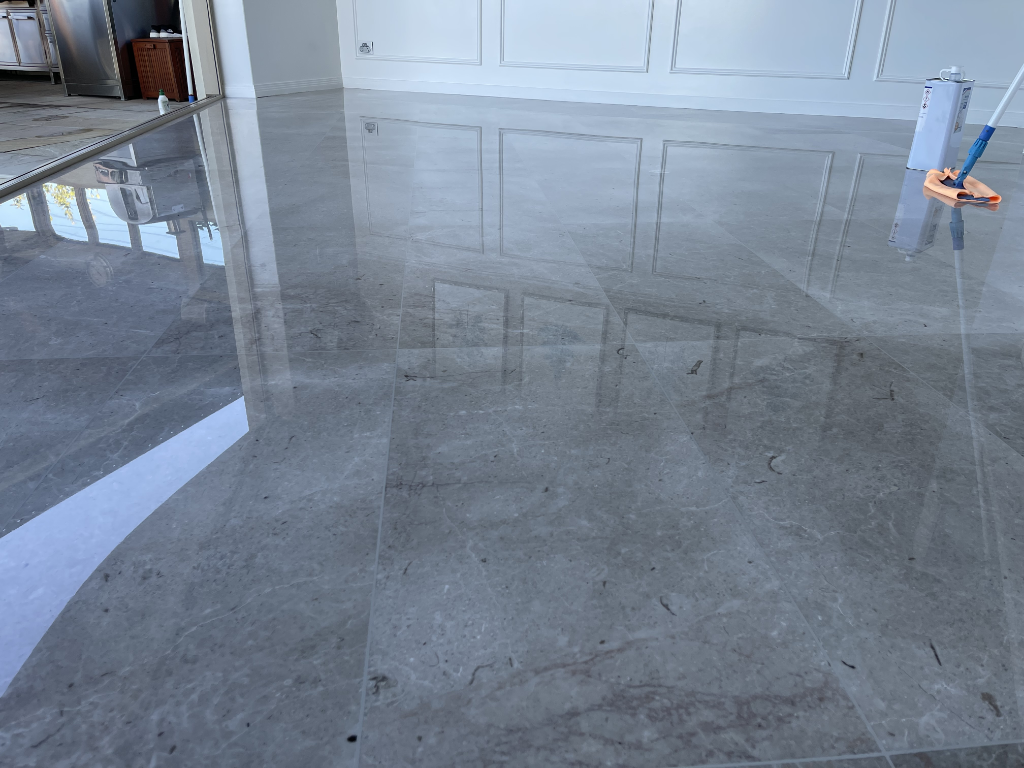
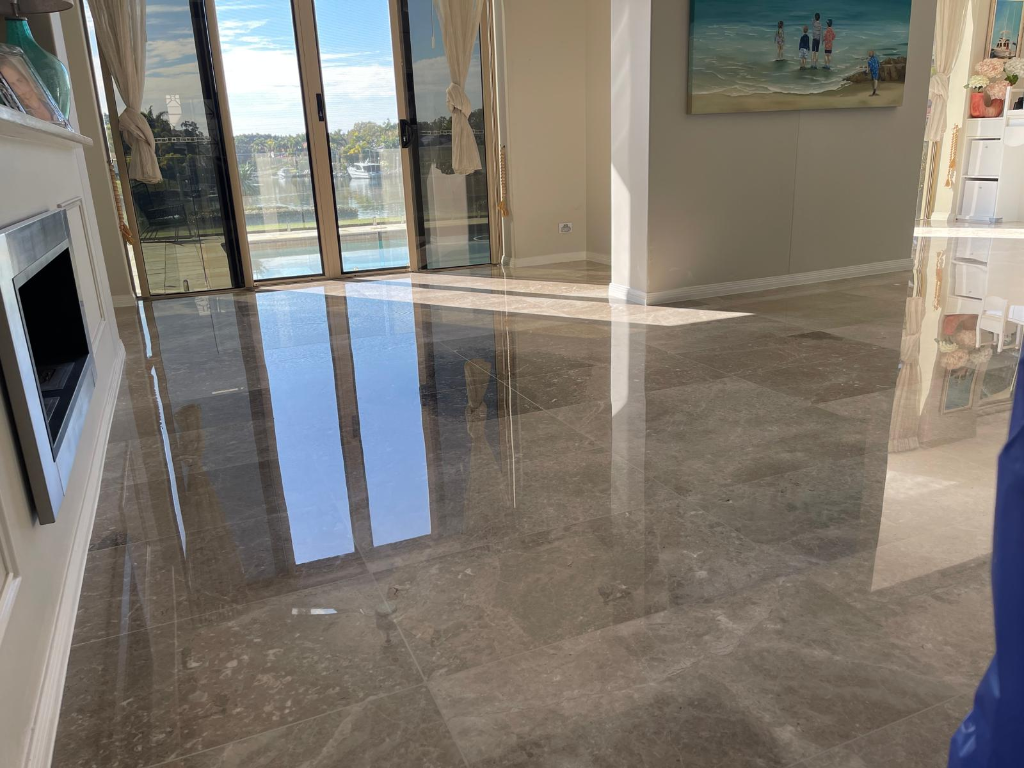
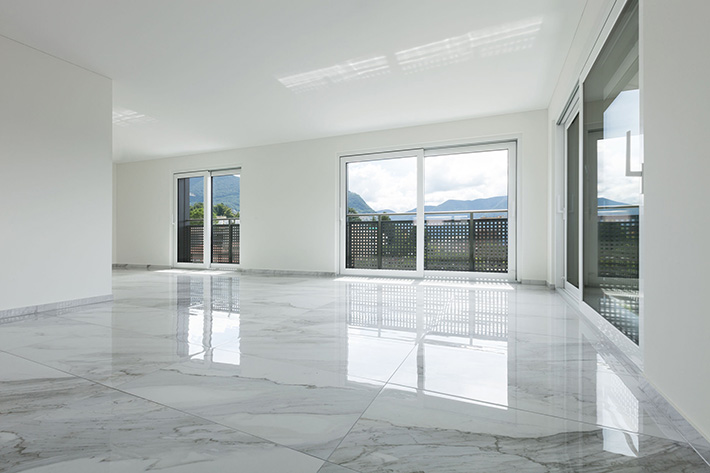
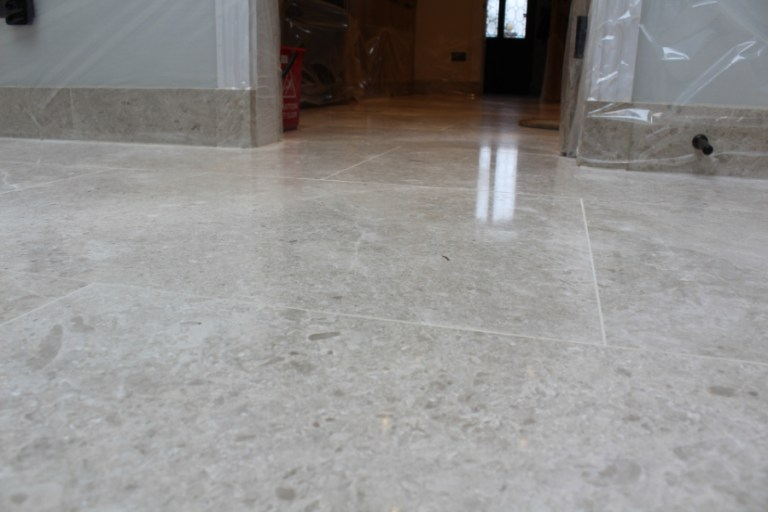
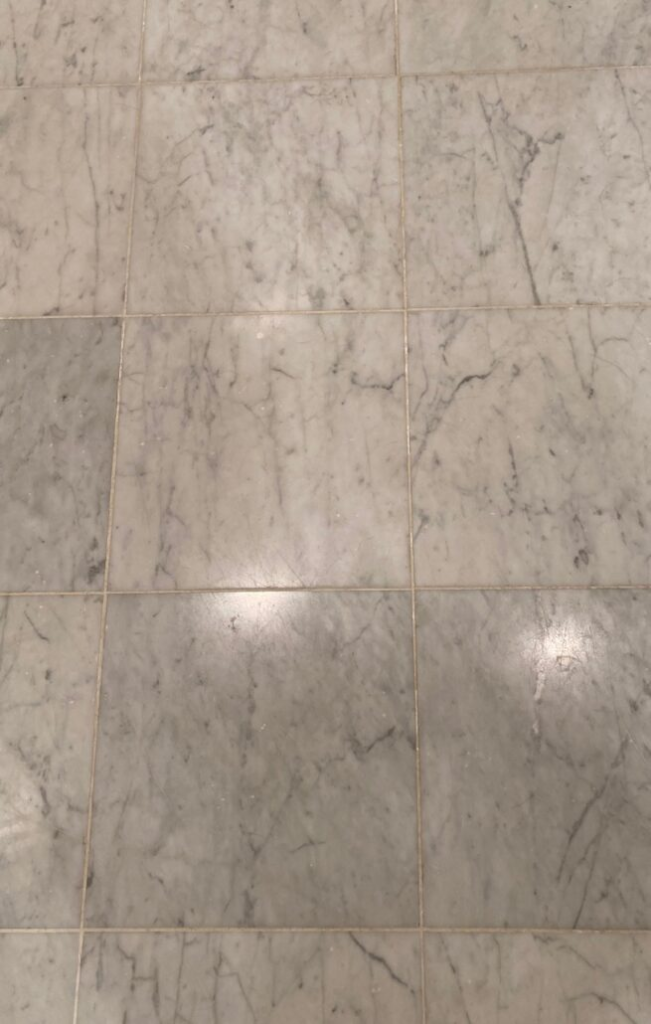
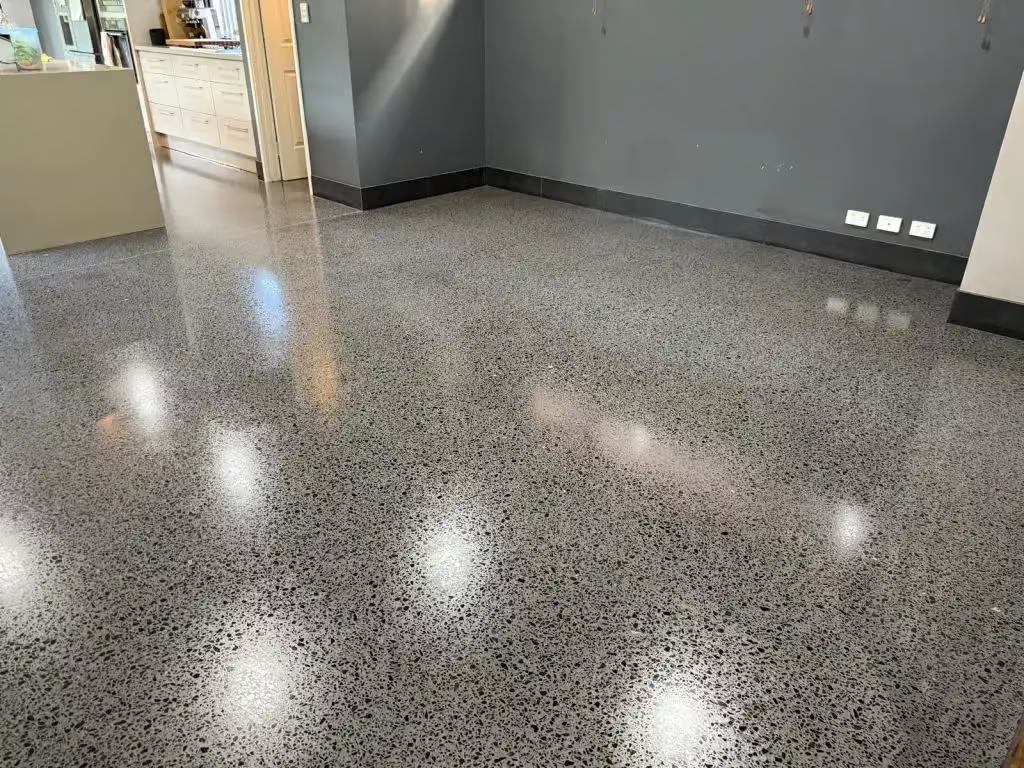
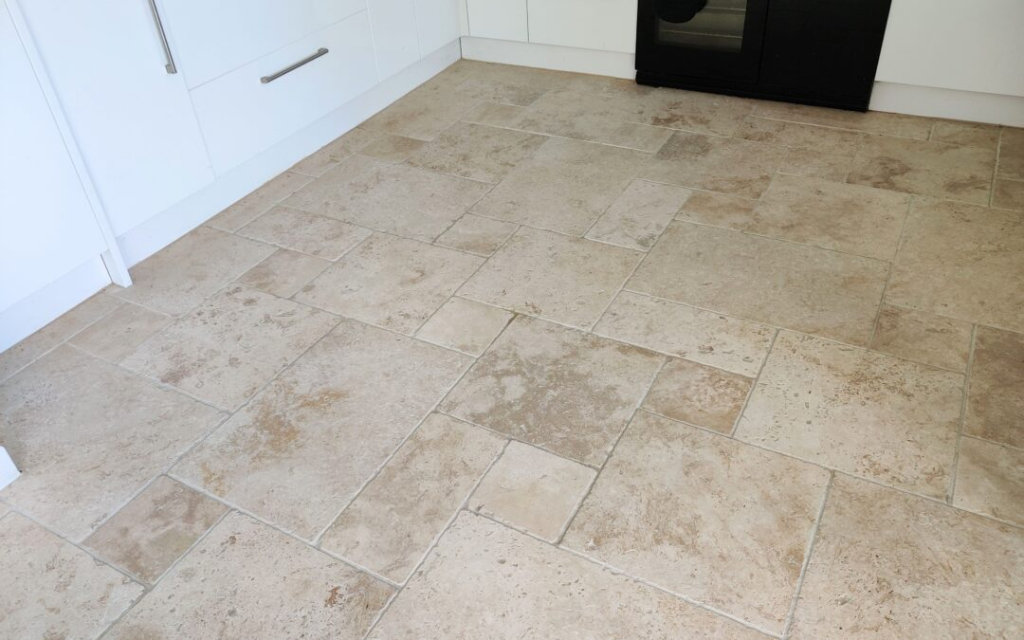
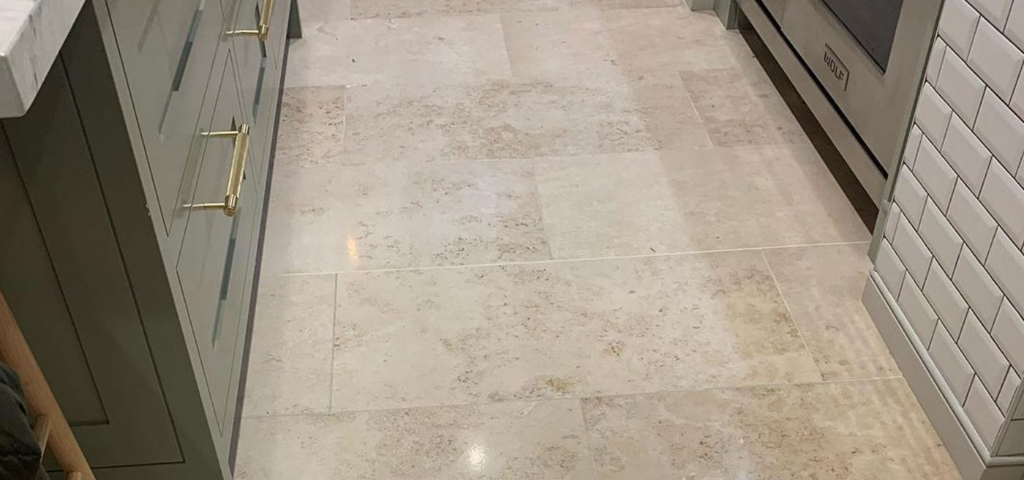
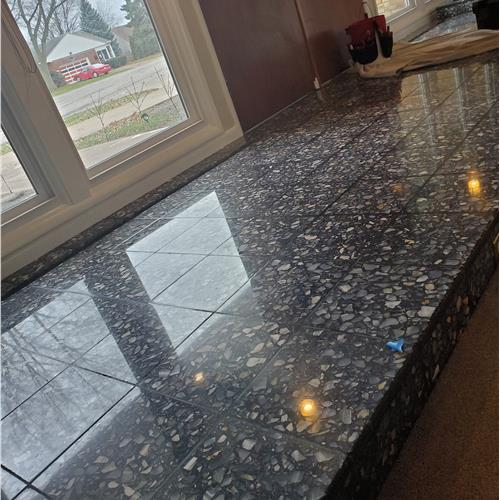
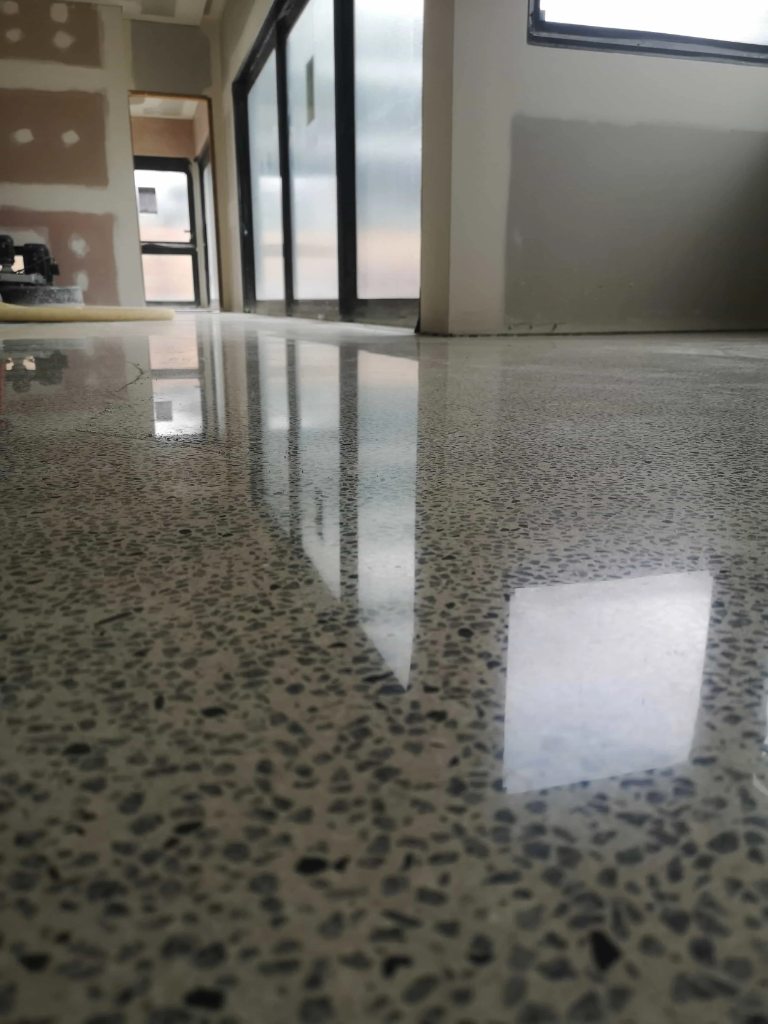
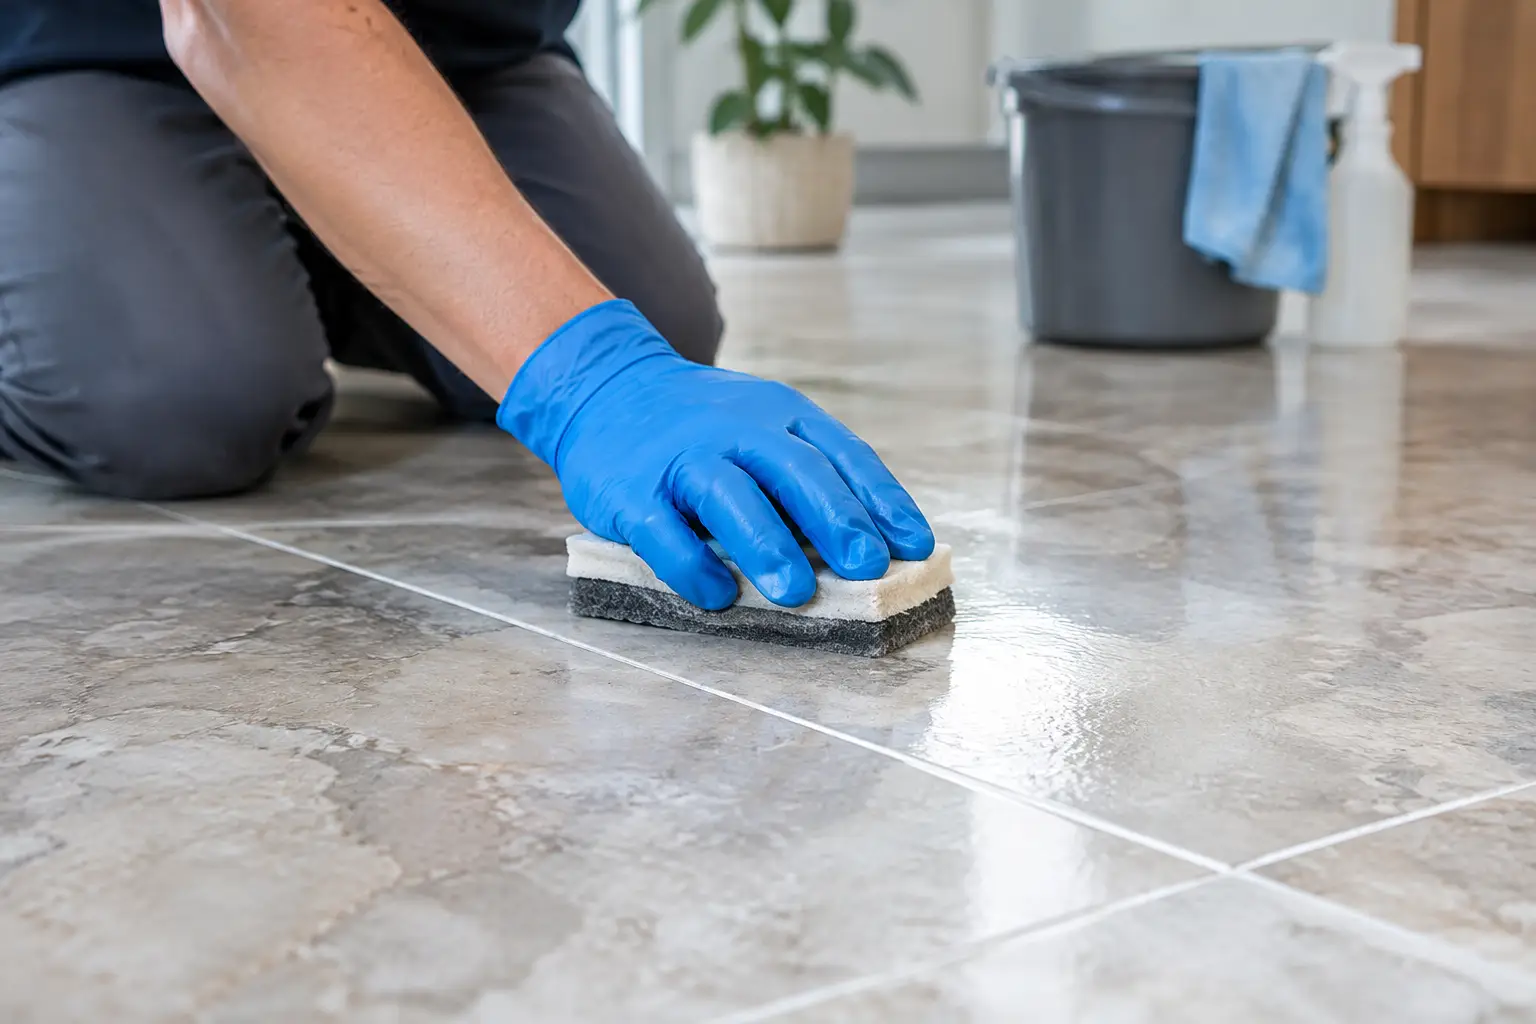
Fresh grout can make a new stone installation look unfinished when a pale, chalky film is left across the surface. Knowing how to remove grout haze from stone without etching, dulling or staining it comes down to one principle: treat the stone as a natural material, not as a standard ceramic tile.
Grout haze is usually easiest to correct soon after installation, but the wrong cleaner can cause permanent damage in minutes. Marble, limestone, travertine and some polished stones are particularly vulnerable to acidic products. A specialist approach protects both the immediate finish and the long-term appearance of the surface.
What grout haze is and why it is difficult to remove
Grout haze is a fine residue left behind when grout slurry dries on the face of surrounding tiles or pavers. It may appear as a white film, cloudy patches, streaks or a dull veil that becomes more obvious when sunlight hits the stone at an angle.
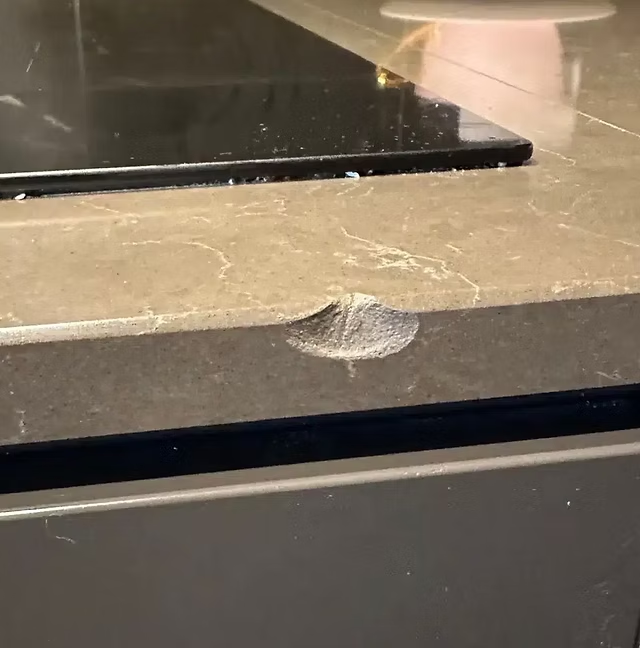
On porcelain or ceramic tiles, haze is often removed with a suitable grout haze remover. Natural stone is different. Many common removers rely on acids to dissolve cement-based residue, and those acids can react with calcium-based stone. The result may be etching, loss of polish, rough patches or uneven colour that is more difficult and costly to rectify than the original haze.
The grout itself matters too. Cement-based grout, epoxy grout and polymer-modified grout each leave different residues and respond to different treatment methods. The age of the haze also affects the process. A light, recent film may release with controlled washing, while hardened residue may need careful mechanical removal and specialist restoration.
How to remove grout haze from stone safely
Before applying any product, identify the stone and confirm whether it is polished, honed, tumbled, textured or split-faced. A cleaner that may be acceptable for dense slate can be entirely unsuitable for polished marble. If there is any doubt, use the least aggressive method first and test it in a concealed area.
Start by dry dusting or vacuuming loose grit from the surface. This prevents abrasive particles being dragged across the stone during cleaning. Then use clean water and a pH-neutral stone cleaner, applied sparingly with a soft microfibre pad or non-abrasive white nylon pad. Work in small sections and change the rinse water regularly so residue is lifted away rather than redistributed.
Avoid flooding grout joints, especially on newly installed floors. Excess water can affect curing grout, carry fine residue into pores and leave moisture beneath stone that is sensitive to movement or discolouration. A wet vacuum is particularly useful on larger areas because it removes suspended residue promptly.
If the haze remains after a gentle clean, do not escalate automatically to a hardware-store acid wash. The next step depends on the stone, grout type and extent of the residue. A stone-safe, non-acidic haze treatment may be appropriate for some installations, but it should still be tested first. Application strength, dwell time, agitation and rinsing all need to be controlled.
Never use acidic grout removers on sensitive stone
Hydrochloric acid, phosphoric acid, vinegar and many general-purpose cement cleaners can damage marble, limestone, travertine and terrazzo. Even a brief application can create etched spots that look like water marks or faded areas. Acid may also weaken grout joints, react with metal trims and create uneven results across a mixed-stone installation.
The same caution applies to abrasive scouring powders, steel wool and aggressive scrapers. They can scratch polished stone, catch on textured surfaces and push grout residue deeper into pits and pores. A haze problem should be corrected with a compatible process, not force.
Material-specific considerations
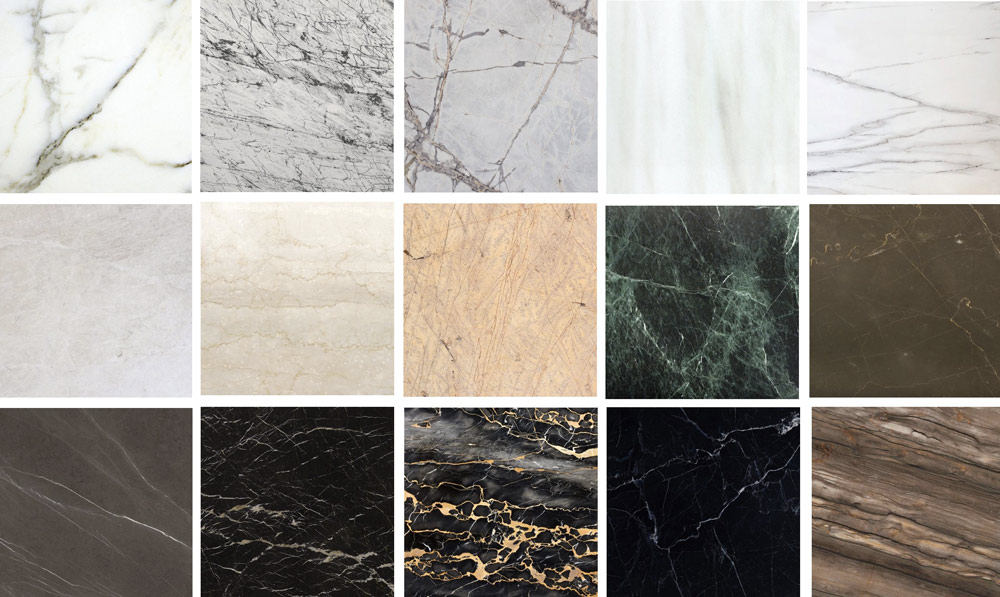
Marble and limestone demand the greatest care because both are highly reactive to acid. Polished surfaces can lose their reflective finish quickly, while honed surfaces may develop darker or lighter patches. On these stones, controlled pH-neutral cleaning and professional assessment are usually the safest path when residue has hardened.
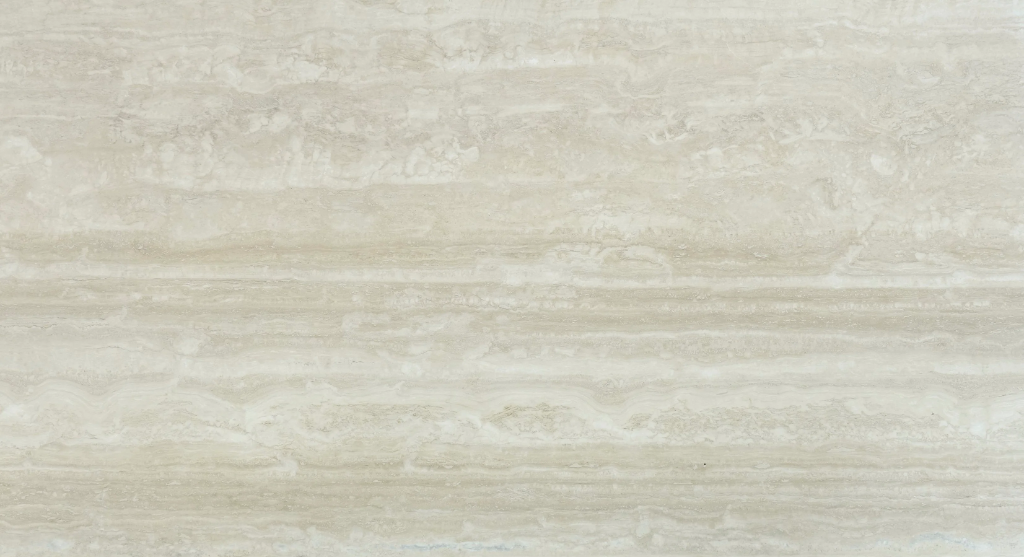
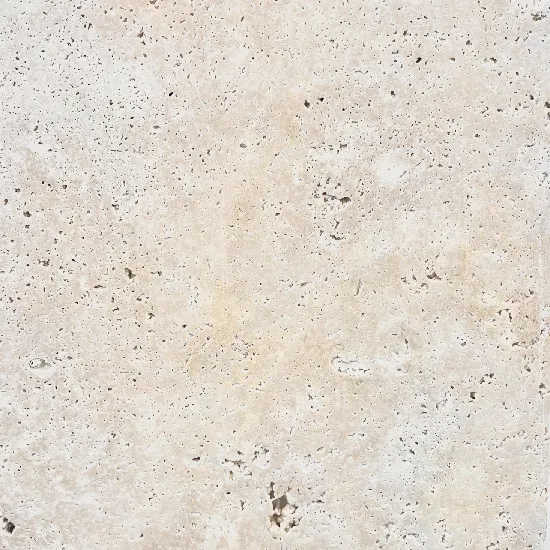
Travertine presents another challenge. Its natural voids and filled areas can trap grout slurry, particularly on tumbled or unfilled finishes. Scrubbing too hard may remove filler or leave residue embedded in pores. Treatment needs to be gentle, targeted and followed by thorough extraction.
Slate varies widely in density and surface texture. Cleft slate can hold grout haze in its uneven profile, making it tempting to use a stronger chemical or stiff brush. That approach can strip surface character, leave pale deposits in low points or affect an existing sealer. The cleaning method should suit the particular slate, not simply the label on the carton.
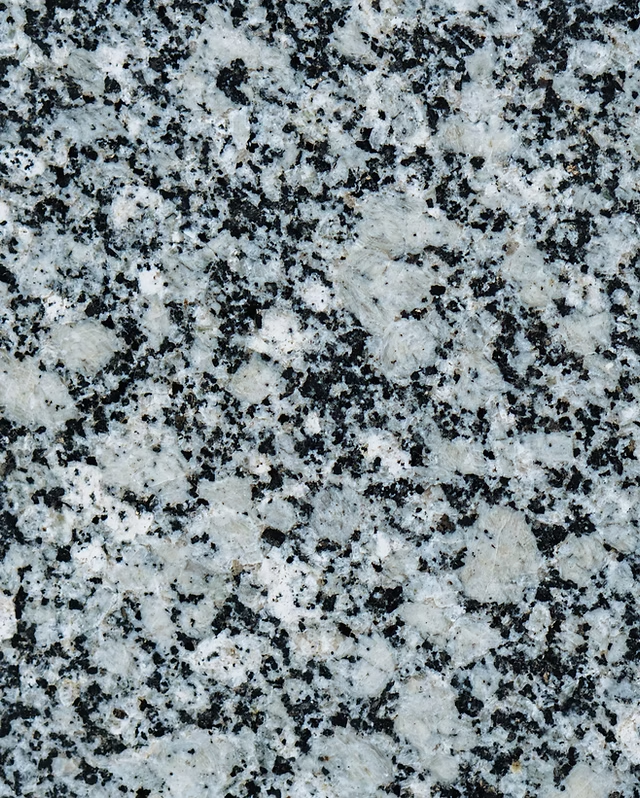
Granite is generally more resistant than marble or limestone, but it is not immune to damage. Some granites contain minerals that can react with unsuitable cleaners, and polished surfaces can still be dulled by abrasive pads. Sealer residue can also resemble grout haze, so accurate diagnosis matters before treatment begins.
When the haze may be something else
Not every cloudy finish after grouting is grout haze. Efflorescence, moisture beneath the stone, residue from installation adhesives, sealer haze and polish damage can all produce a similar appearance. Treating the wrong issue with a grout remover may make the surface worse.
Efflorescence is a white mineral deposit that can migrate from below the surface as moisture evaporates. It may reappear after cleaning if the moisture source remains. Sealer haze often has a smeared or plastic-like appearance and can be especially visible on dark stone. Etching, meanwhile, changes the stone itself rather than sitting on top of it, so no amount of washing will restore the original finish.
A close inspection under natural and angled light helps distinguish surface residue from damage within the stone. For high-value flooring, benchtops, bathrooms, foyers or commercial entries, this assessment is worth getting right before any chemical is applied.
Timing matters after grouting
The best time to address haze is during the recommended post-grouting cleaning window set by the grout manufacturer. At this stage, residue is less bonded to the stone and can often be lifted with minimal intervention. Waiting until the project is complete may allow the haze to cure, harden and become far more labour-intensive to remove.
That said, cleaning too early can pull grout from joints or spread coloured pigment over porous stone. The installer should allow the grout to firm up, then complete a controlled initial clean using clean water, suitable tools and frequent water changes. Stone should not be treated as an afterthought once the grout work is finished.
For larger residential projects and commercial installations, a sample clean before the full area is treated is good practice. It confirms the proposed method, highlights any variation in the stone and provides a clear benchmark for the finished appearance.
When specialist stone restoration is the right option
Professional help is advisable when haze covers a large area, has been left for weeks, follows an acid wash, or sits on polished or delicate natural stone. It is also the right response where there is uncertainty about the grout, sealer or stone type.
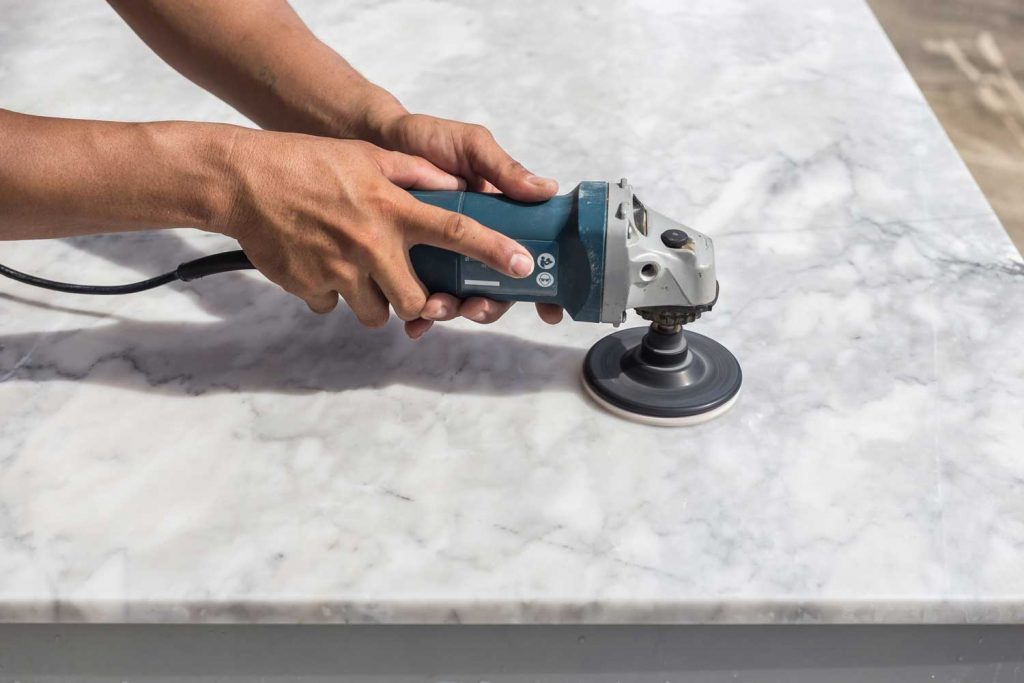
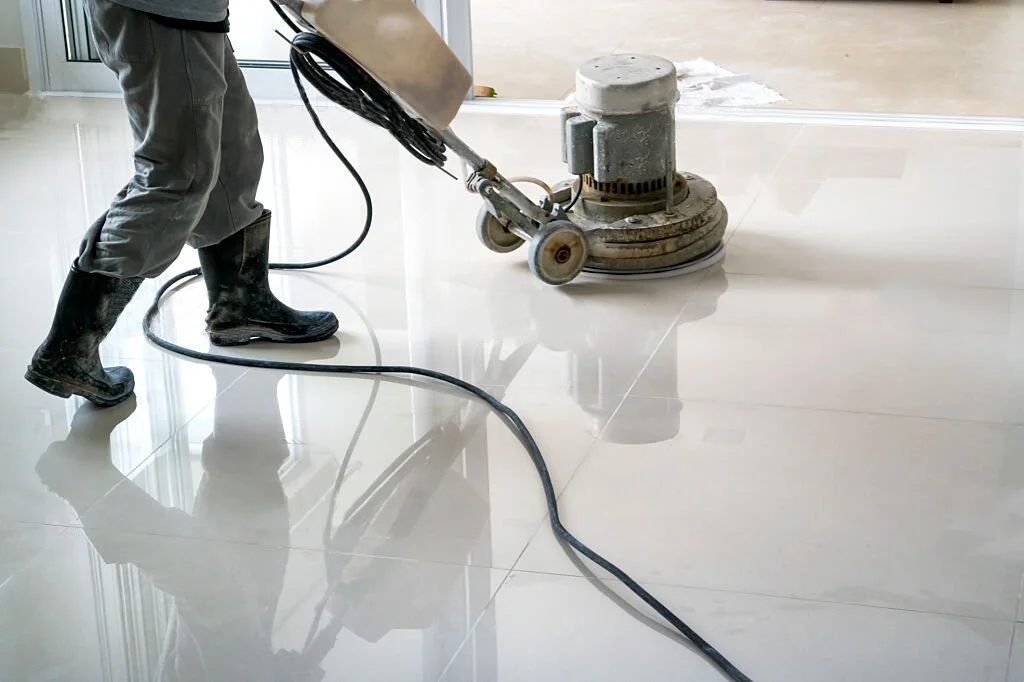
A specialist can assess whether the issue is removable residue, sealer contamination or etched stone. Where necessary, corrective work may involve controlled residue removal, deep cleaning, honing, polishing or resealing. This is more precise than repeated chemical applications and helps preserve the consistency of the finish across the entire surface.
Sydney Stone Care works with natural stone as a specialist material, assessing the surface before selecting a treatment process. That material-specific approach is particularly valuable where a premium stone finish has been installed in a kitchen, bathroom, lobby, retail space or outdoor entertaining area.
Once the haze has been removed, allow the stone to dry fully before deciding whether resealing is required. A quality impregnating sealer can assist with future maintenance, but it will not correct existing haze or protect stone from acid etching. Ongoing care should rely on pH-neutral products, clean water and prompt attention to spills rather than harsh chemicals.
A clear, even stone finish is one of the details that makes an installation look properly completed. When grout haze is addressed with the right method early, the natural colour, texture and value of the stone remain exactly where they should be: on display.